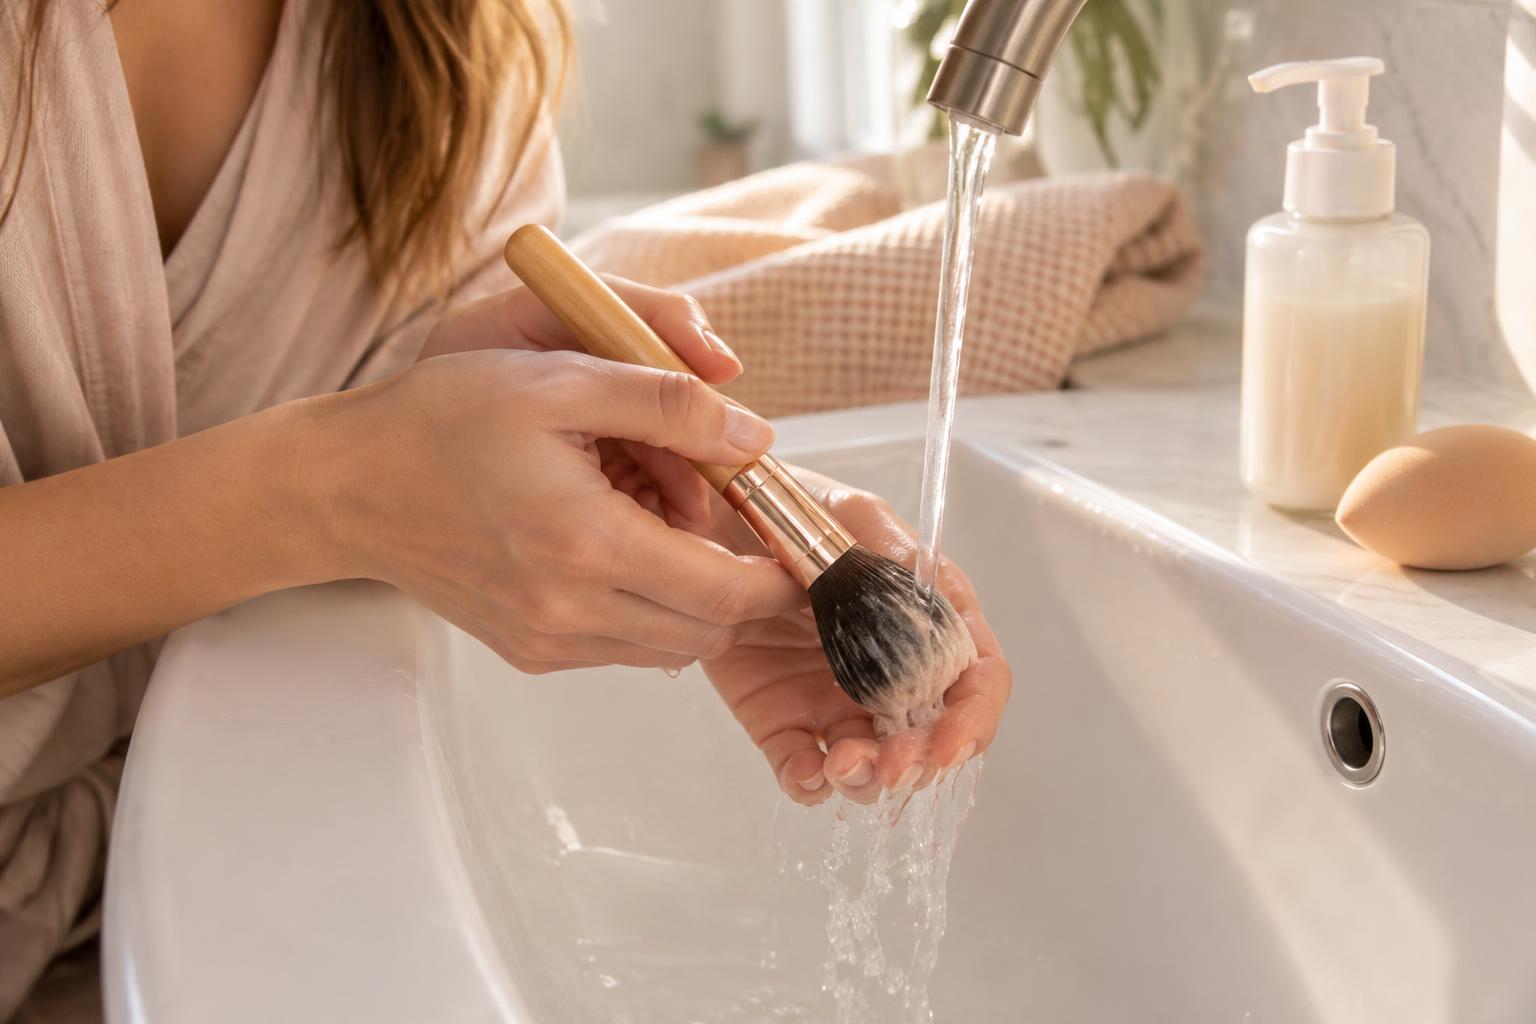
Clean makeup brushes and sponges with lukewarm water and a gentle, rinse-clean cleanser, then let them dry completely before storing. Keep brush handles and metal collars out of soaking water, and squeeze sponges gently rather than twisting them.
The best routine depends on what each tool touches: a sponge soaked in foundation needs more frequent washing than a brush used only for dry powder. Here’s how to remove buildup without unnecessary wear.
How Often Should You Clean Makeup Brushes and Sponges?
Use these intervals as practical starting points, not guarantees that a tool is clean. Wash sooner whenever you notice buildup, an unusual smell, or contact with an unclean surface.
- Makeup sponges and cushion puffs: Wash after every use, especially when used damp or with liquid makeup. Follow the manufacturer’s instructions for specialty puffs.
- Foundation and concealer brushes: Ideally, wash after each use. Liquid and cream residue can collect near the base of dense bristles.
- Powder, blush, and bronzer brushes: Wash about once a week with regular personal use, sooner if they feel coated or application becomes uneven.
- Eyeshadow brushes: Wash weekly with regular personal use, and more often when switching colors or using creams.
- Eyeliner and lip brushes: Wash after each use, particularly when working with gel, cream, or liquid formulas.
A brush that has been sitting unused in a clean, closed space doesn’t need washing simply because a week has passed. Avoid sharing tools; ordinary home washing is not a substitute for professional sanitation between people.
Choose a Gentle Cleanser for Your Tools
A cleanser labeled for makeup brushes or sponges is a straightforward choice. Beautyblender Blendercleanser is one familiar option; check the specific product’s directions and your tool’s care instructions.
A small amount of mild, easy-rinsing liquid soap or gentle shampoo may also work for washable brushes. Avoid conditioning formulas that leave a coating, and don’t assume baby shampoo is automatically suitable for every brush.
Brushes: Protect the Bristles and Glue
Synthetic brushes generally suit liquid and cream makeup, but their glued construction still needs careful washing. Natural-hair and specialty brushes may require a manufacturer-recommended cleanser and gentler handling.
Skip household disinfectants, bleach, acetone, and DIY alcohol soaks. Strong degreasers and straight oils are also poor default choices: they may be difficult to rinse away or incompatible with the tool’s materials.
Sponges: Use Gentle Compression
For porous sponges, a sponge-compatible liquid or solid cleanser helps you work through absorbed makeup. A solid cleanser offers a surface for gentle rubbing; liquid cleanser can be distributed through the wet sponge with repeated squeezing.
Neither requires aggressive scrubbing. Avoid digging in with fingernails, which can tear the surface.
How to Clean Makeup Brushes Step by Step
- Wet the bristles. Hold the brush with its head pointing down under lukewarm running water. Keep the handle and ferrule—the metal collar holding the bristles—out of the stream as much as possible.
- Add a little cleanser. Place a small amount in your palm or on a soft silicone cleaning mat.
- Work through the makeup. Gently sweep and swirl the bristles without grinding, sharply bending, or spreading them flat. For dense brushes, lightly separate sections with your fingers.
- Rinse thoroughly. Keep the head angled downward and rinse until there are no visible suds or makeup traces. Repeat a gentle wash if needed rather than scrubbing harder.
- Remove excess water. Lightly press the bristles in a clean towel and reshape the head.
Don’t leave brushes soaking in a cup or bowl. Prolonged water exposure around the ferrule and handle can affect glue and finishes. For stubborn waterproof residue, use a compatible cleanser designed for that job instead of reaching for harsher household products.

How to Clean Makeup Sponges Step by Step
- Saturate the sponge. Wet it thoroughly with lukewarm water, gently squeezing so water moves through the center.
- Apply cleanser. Add a small amount of liquid cleanser or gently rub the wet sponge over a compatible cleansing bar.
- Compress repeatedly. Massage with the pads of your fingers, concentrating on makeup-heavy areas. Don’t twist, wring, or stretch it.
- Rinse and repeat as needed. Continue squeezing under clean water until no suds or makeup rinse out and the sponge no longer feels slippery.
- Press out water. Gently squeeze, then press in a clean towel without wringing.
A lingering stain doesn’t necessarily mean makeup is still washing out. Don’t destroy the sponge trying to remove discoloration. However, persistent residue, odor, or questionable spots are reasons to stop using it.
Avoid microwaving, boiling, or putting tools in a dishwasher. These methods can damage materials and are not a reliable substitute for appropriate cleaning.
Dry Brushes and Sponges Completely
Dry Brushes Flat With Air Around the Bristles
Lay brushes horizontally with their heads extending over the edge of a clean counter, or use a rack designed to hold them bristles-down. Keep them secure and away from splashes.
Don’t stand wet brushes bristles-up, and avoid hair dryers, radiators, and direct heat. Dense brushes may still be damp inside after the outer bristles feel dry, so allow extra time rather than relying on a fixed drying deadline.
Give Sponges Open Airflow
Place a washed sponge on a clean, ventilated holder in an airy spot. Don’t seal it in a makeup bag, drawer, or closed travel case while damp. A towel is useful for blotting, but wrapping the sponge limits airflow.
Keep a spare tool available if you apply makeup before everything has dried. For damp application, rewet a clean, fully dried sponge with fresh water when you’re ready to use it.
When Should You Replace Makeup Tools?
Follow any manufacturer replacement guidance, but condition matters too. A tool that deteriorates early shouldn’t stay in rotation just to reach a suggested date.
- Replace brushes with persistent shedding, rough or broken bristles, loose ferrules, cracked handles, or residue and odor that remain after washing.
- Replace sponges that tear, crumble, lose their bounce, stay unusually hard, develop a persistent smell, or show suspected mold.
If a tool causes discomfort or irritation, stop using it. With a suspected eye or skin infection, set exposed tools aside and ask a healthcare professional about safe reuse or replacement.
FAQ
Can I use dish soap to clean makeup brushes?
It isn’t the best default, especially for natural-hair brushes. Formulas vary in strength and additives. Choose a brush-compatible cleanser or a mild alternative allowed by the manufacturer.
Does a quick-clean brush spray replace washing?
Usually not. Some sprays help remove surface pigment between applications, but follow their labels and continue regular washing. Don’t assume a color-removal product disinfects the brush.
Why does my makeup sponge still smell after washing?
Retained residue or incomplete drying may contribute, but you can’t identify the cause by smell alone. Replace a sponge with a persistent odor rather than masking it with fragrance.
Can I store brushes and sponges together?
Yes, once they are completely dry. Use a clean storage area that protects brush shapes and doesn’t compress sponges. Never tuck freshly washed, damp tools into a closed pouch.