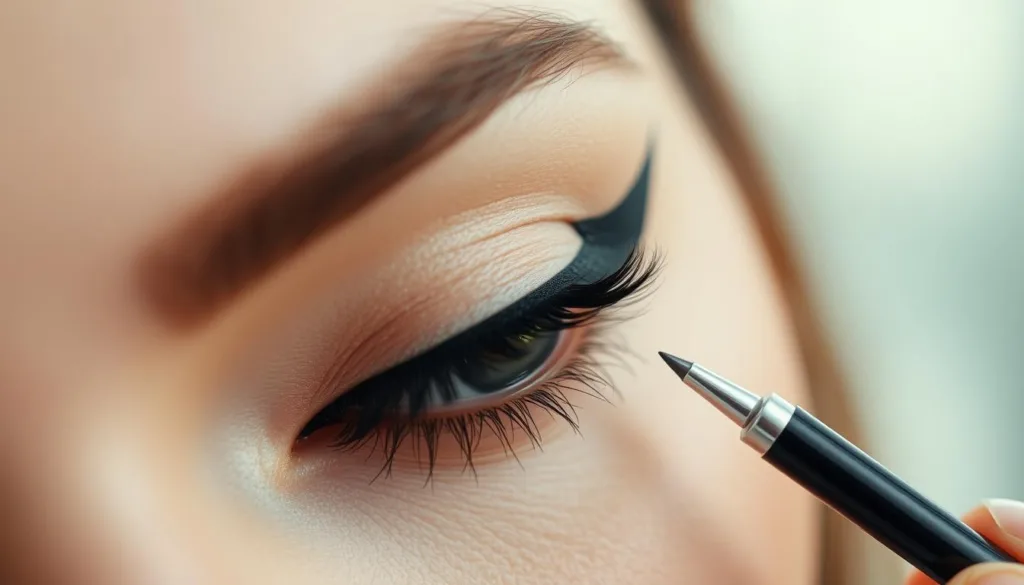
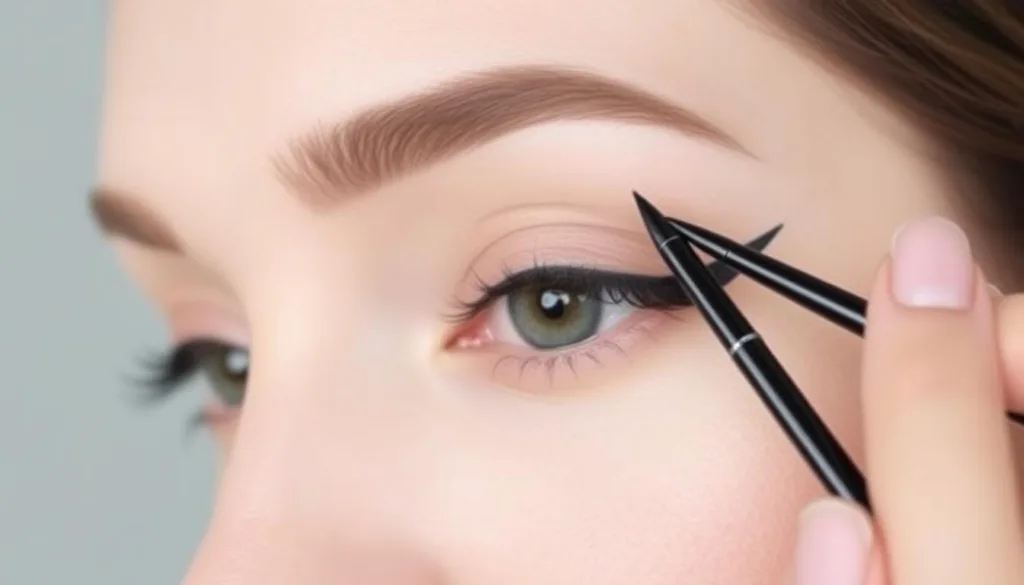
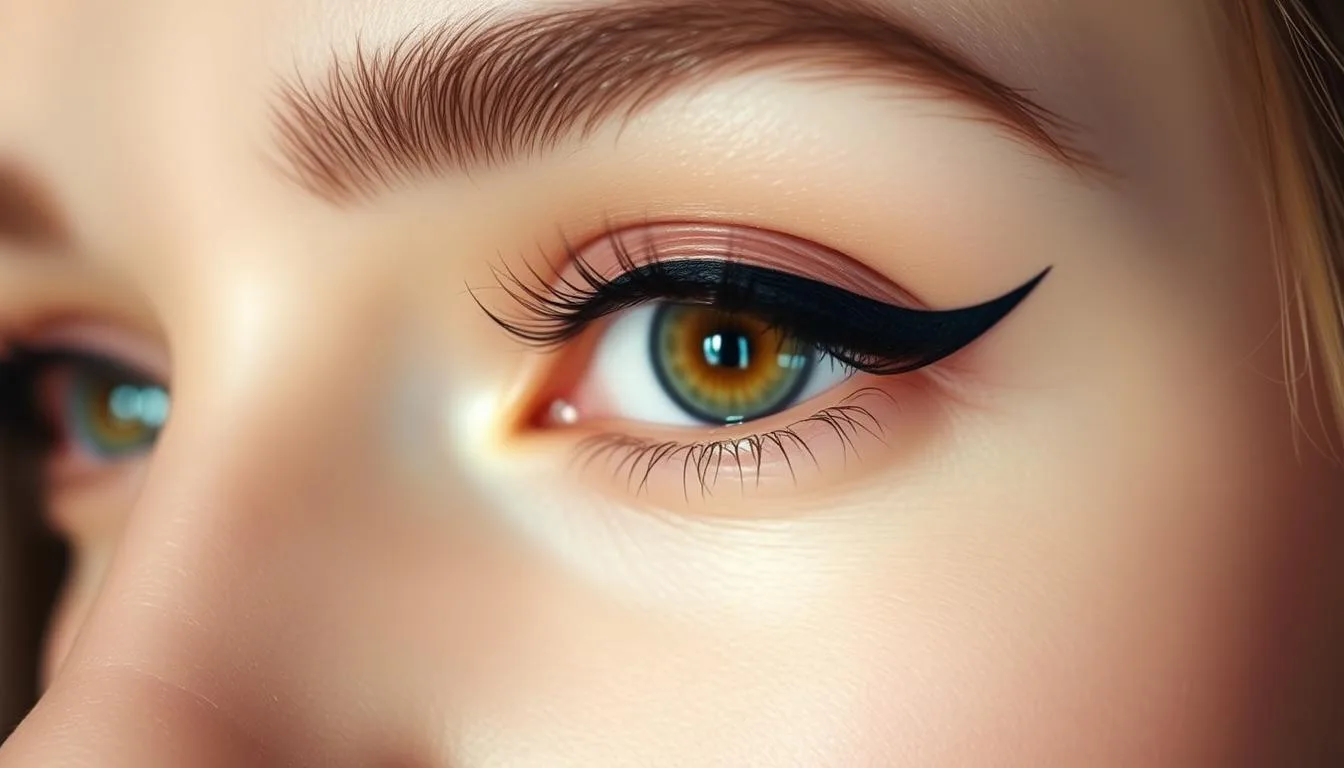
“Beauty begins the moment you decide to be yourself,” said Coco Chanel. That confidence starts with mastering makeup techniques that highlight your unique features. A sharp cat eye can transform your entire look, but achieving symmetry requires practice and precision.
Creating crisp lines along the lash line isn’t just about steady hands – it’s about strategy. This guide reveals professional methods used in viral TikTok tutorials, from selecting smudge-proof formulas to adapting styles for hooded or almond-shaped eyes. Whether you’re new to makeup or refining your skills, these insights will elevate your artistry.
Top-tier products like the ONE/SIZE Point Made 24-Hour Gel Eyeliner Pencil ensure longevity without fading. You’ll learn how to map your eye shape, blend colors seamlessly, and fix mistakes quickly. We’ll also explore angled brush techniques for those who prefer gel formulas over liquid liners.
Key Takeaways
- Prep lids with primer to prevent smudging
- Use short strokes for better control
- Tailor wing length to your eye shape
- Experiment with tape guides for sharp edges
- Set lines with matching eyeshadow
Understanding Your Eye Shape and Its Impact on Eyeliner
Your eye structure determines how liner interacts with natural contours. While hooded lids demand upward flicks, almond shapes allow bold wings. Let’s decode how anatomy guides application.
Five Core Eye Shapes Explained
Upturned eyes lift at outer corners. Downturned ones slope downward. Almond eyes resemble symmetrical ovals. Round shapes show visible iris whites. Monolids lack creases.
| Shape | Wing Direction | Pro Tip |
|---|---|---|
| Upturned | Parallel to lower lash line | Use tape for 45° angles |
| Downturned | Upward flick from mid-lid | Extend wing beyond brow tail |
| Monolid | Thick, graphic lines | Layer gel formulas |
Customizing Wings for Your Features
Almond eyes? Draw wings following natural curves. For round shapes, elongate with tapered ends. Makeup artist Linh Nguyen advises: “Mirror your lower lash line’s angle for balance.”
Monolid looks shine with gradient shadows blended under wings. Try a scalene triangle shape if lids tilt upward. Always start thin near inner corners – thick lines overwhelm small eyes.
Mastering The Perfect Eye Liner Technique
Flawless eyeliner application combines science and artistry in every stroke. While steady hands help, success lies in understanding how formulas interact with skin texture and natural curves. Start by choosing tools that match your skill level: liquid liner demands confidence, while gel pots with angled brushes offer more control.

Essential Principles Behind a Flawless Line
Product consistency dictates results. Watery liquid formulas skip, creating uneven gaps. Thick gels drag lids, forcing unnecessary pressure. Makeup artist Jamie Lee suggests: “Test viscosity on your hand first – it should glide without pooling.”
Short, connected strokes prevent jagged edges. Rest your pinky on a compact mirror for stability. Connect dots along the lash line instead of drawing one continuous strip. This method reduces shake-induced mistakes.
The inner corner anchors winged looks. Extend your wing slightly inward toward the tear duct, keeping lines whisper-thin. This bridges the gap between classic liner and bold flicks seamlessly.
Balance drama with precision. Layer pencil underneath liquid for depth without bulk. For hooded eyes, apply with eyes open to avoid hidden wings. Set mistakes with a cotton swab dipped in micellar water – perfection isn’t about getting it right the first time, but refining until symmetry sings.
Step-by-Step Guide for a Precise Application
Mastering eyeliner starts with precision, not luck. By breaking the process into manageable steps, you’ll create crisp lines that frame your eyes effortlessly. Let’s dive into the tools, techniques, and refinements that guarantee salon-quality results every time.

Preparation: Tools and Product Selection
Begin with clean, moisturized lids. Opt for long-wear formulas like the ONE/SIZE Point Made Gel Eyeliner Pencil for smudge-proof lines. Keep an angled brush and cotton swabs nearby for corrections. Pro tip: Store liquid liners like the PÜR On Point Waterproof Liquid Eyeliner Pen tip-down to maintain flow consistency.
Detailed Process: From Lining the Lash to Creating a Wing
Start at the inner corner with light pressure. Use short strokes to trace the upper lash line, thickening toward the outer edge. To form the wing, imagine a diagonal from your nostril to the brow tail. Draw a thin guideline upward from the outer corner, then connect it to your main line.
Place Scotch tape angled toward your temple for razor-sharp edges. Fill gaps with gentle back-and-forth motions. Let liquid formulas dry halfway before opening eyes fully – this prevents transfer on hooded lids.
Finishing Touches: Enhancing and Defining Your Look
Sharpen edges with a flat concealer brush dipped in makeup remover. Dab matching eyeshadow over gel liner to lock it in place. For added depth, smudge a dark pencil along the lower lash line. Celebrity artist Pati Dubroff notes: “A crisp wing demands contrast – highlight the brow bone to amplify its impact.”
Expert Tips and TikTok Hacks for Effortless Eyeliner
Modern makeup hacks simplify winged eyeliner looks without sacrificing drama. These TikTok-approved methods blend artistry with practicality, offering quick solutions for uneven lines or time-crunched mornings.
Shadow Liner Technique for a Natural Lift
Swap liquid liner for dark eyeshadow and an angled brush. Makeup artist Jen Tioseco demonstrates: “Press pigment along the lash line, flicking upward at the outer corner. The diffused edge mimics a wing while softening harsh lines.” This method adds dimension to hooded eyes and works for all eye shapes.
Brow Pencil Hack: A Subtle Alternative for Daily Looks
Use a taupe brow pencil to sketch soft wings. Kevin Kodra, a viral TikTok creator, shares: “The waxy formula stays put without smudging. Draw tiny dashes along the upper lash line, then blend with a flat brush.” This creates a faux lash effect in under a minute.
| Hack | Tools | Best For |
|---|---|---|
| Shadow Liner | Angled brush + matte shadow | Adding depth to monolids |
| Brow Pencil | Taupe pencil + smudger | Quick daytime definition |
Both methods require minimal cleanup. Keep micellar wipes nearby to sharpen edges. Practice these techniques 2-3 times weekly to adapt them to your eye shape. As Kodra notes: “The goal isn’t perfection – it’s finding what makes your features pop.”
Tools, Brushes, and Product Recommendations
Your eyeliner’s performance hinges on selecting formulas that complement your skill level and eye features. Quality tools paired with proper care routines ensure crisp lines that last all day.
Choosing Between Liquid, Gel, or Pencil Eyeliner
Liquid liners like Stila Stay All Day Waterproof Liquid Eyeliner deliver sharp wings but require steady hands. Ideal for almond or upturned eyes needing precise flicks. TikTok reviews praise their smudge-proof finish yet note the learning curve.
Gel formulas (e.g., MAC Fluidline) work best with angled brushes for controlled application. Makeup artist Hung Vanngo recommends them for hooded lids: “The creamy texture doesn’t tug delicate skin.” They’re versatile but dry faster than pencils.
Pencil liners like Urban Decay 24/7 Glide-On excel for smoky looks or tightlining. Their soft texture suits sensitive eyes but may require setting with eyeshadow. Avoid inner corner application if prone to tearing.
| Type | Best For | Longevity |
|---|---|---|
| Liquid | Winged looks | 12+ hours |
| Gel | Graphic lines | 8-10 hours |
| Pencil | Soft definition | 6-8 hours |
Maintaining Your Eyeliner Tools for Best Results
- Clean angled brushes weekly with silicone-free cleanser to prevent pigment buildup
- Store gel pots upside-down to maintain moisture
- Sharpen wooden pencils before each use for hygienic application
Revive dried liquid liners by shaking vertically for 30 seconds. For precise inner corner work, use fine-tip options like NYX Epic Ink Liner. Pro tip: Wrap pencil sharpeners in microfiber cloths to catch debris.
Always cap products tightly and avoid heat exposure. As beauty influencer Katie Jane Hughes advises: “Treat your tools like investments – proper care triples their lifespan.”
Conclusion
Mastering crisp lines starts with understanding your features. Short strokes along the lash line, angled brushes for winged edges, and strategic product choices – these form the foundation. Remember: mapping your eye shape ensures wings lift rather than droop.
Traditional methods like tape guides pair perfectly with TikTok hacks. Try blending shadow for smoky definition or using a brow pencil at the outer corner. As beauty artists emphasize, there’s no single “right” method – only what enhances your natural beauty.
Experiment with liquid liner for drama or an eyeliner pencil for softness. Each tool offers unique advantages. Practice weekly, refining techniques until symmetry feels effortless.
Share these insights with friends exploring their signature liner look. Follow trusted artists for fresh takes on classic styles. With patience and creativity, every application becomes a step toward artistry.
